How to install Windows 10/11?
On this page you will find detailed textual guidelines for the installation of Windows 10/11.
1. For Windows 10 visit: https://www.microsoft.com/software-download/windows10
For Windows 11 visit:
2. Download the ‘Download Tool‘.
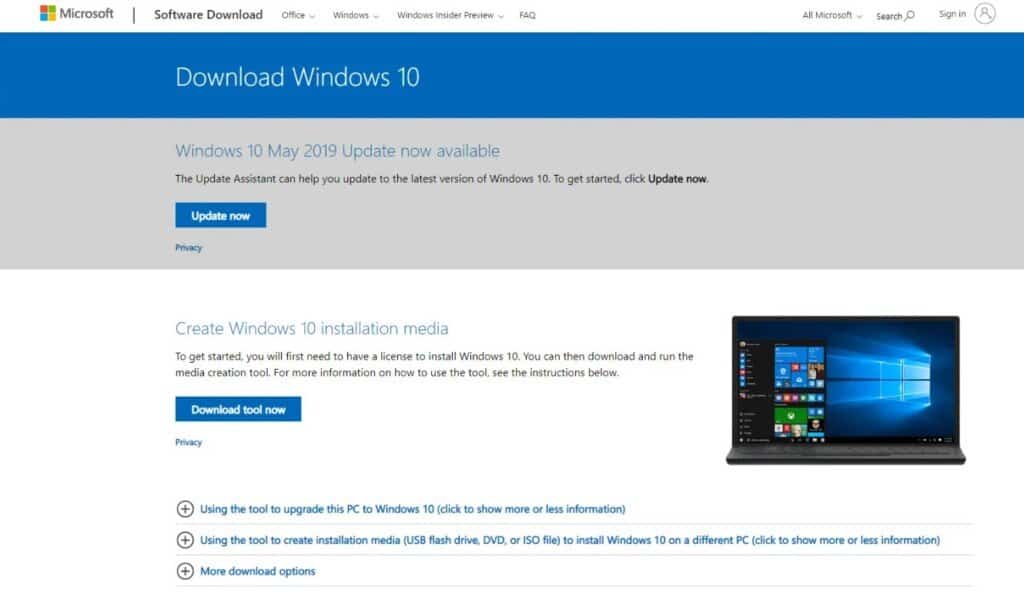
3. Open the ‘Download tool‘ and accept the Terms and Conditions.
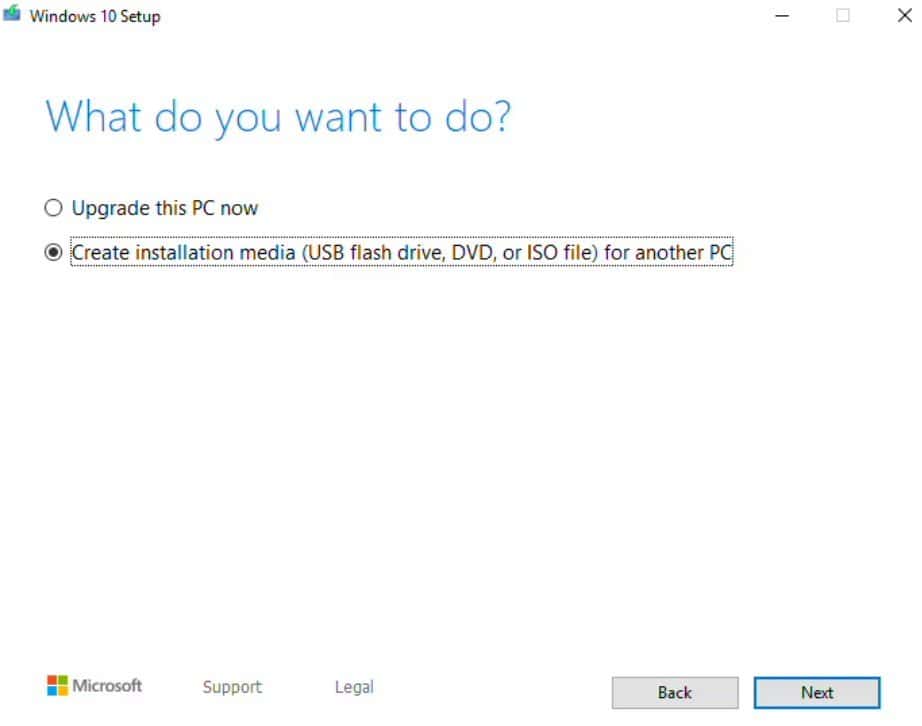
4. Select the option for creating a bootable drive.
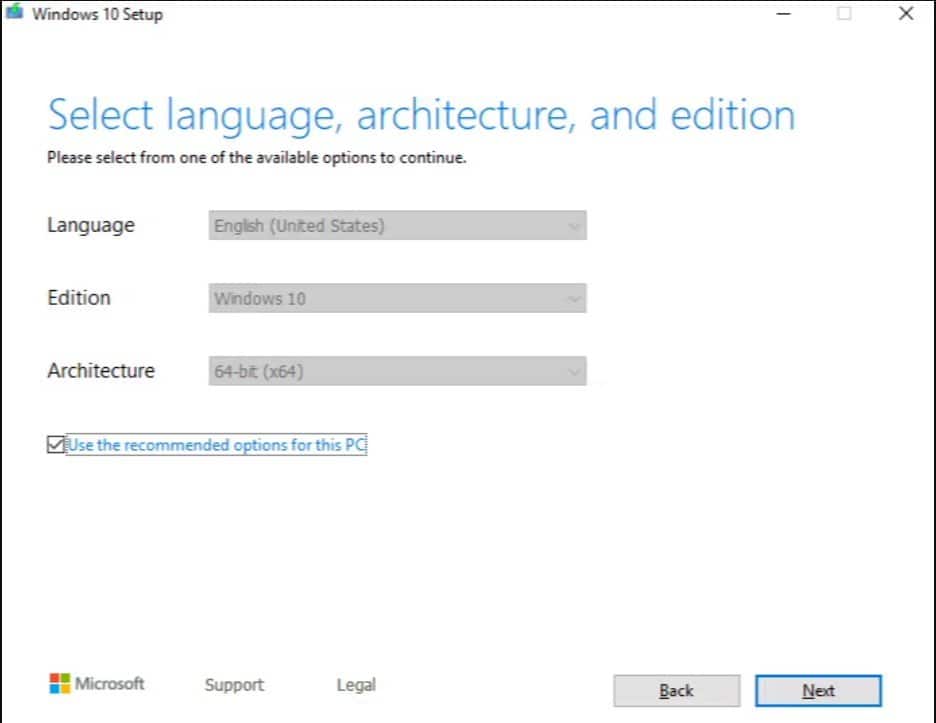
5. Select the version and architecture of the Windows 10/11 Installation.
* Note: Recommended options are based on the PC/Laptop your running the creation tool from.
6. Select between creating a bootable drive from a USB or ISO (for DVD).
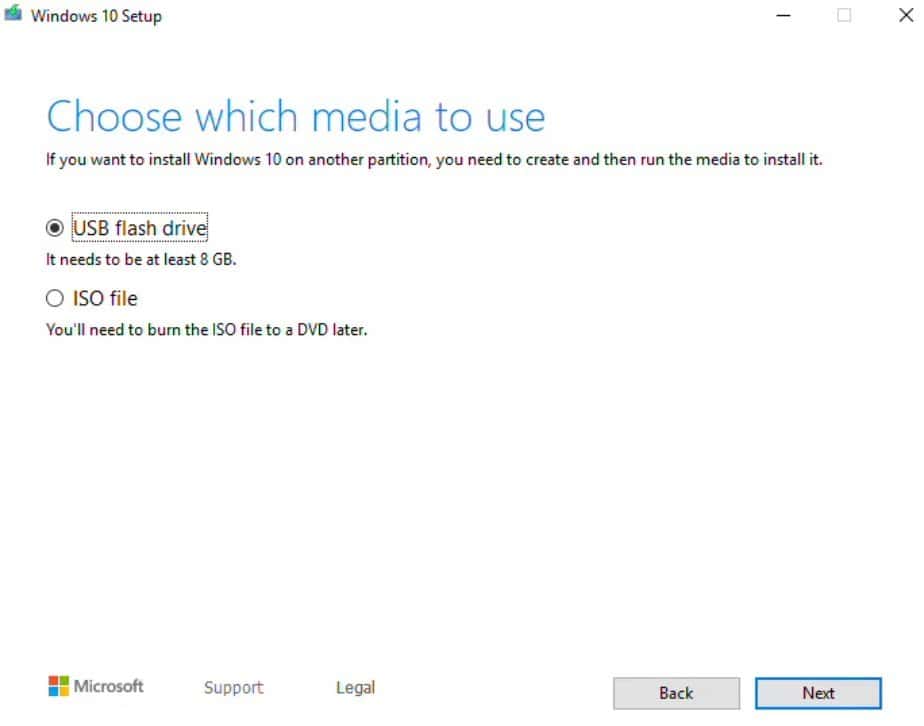
7. Insert drive (USB) to computer, allocate and select it in the tool (USB only).
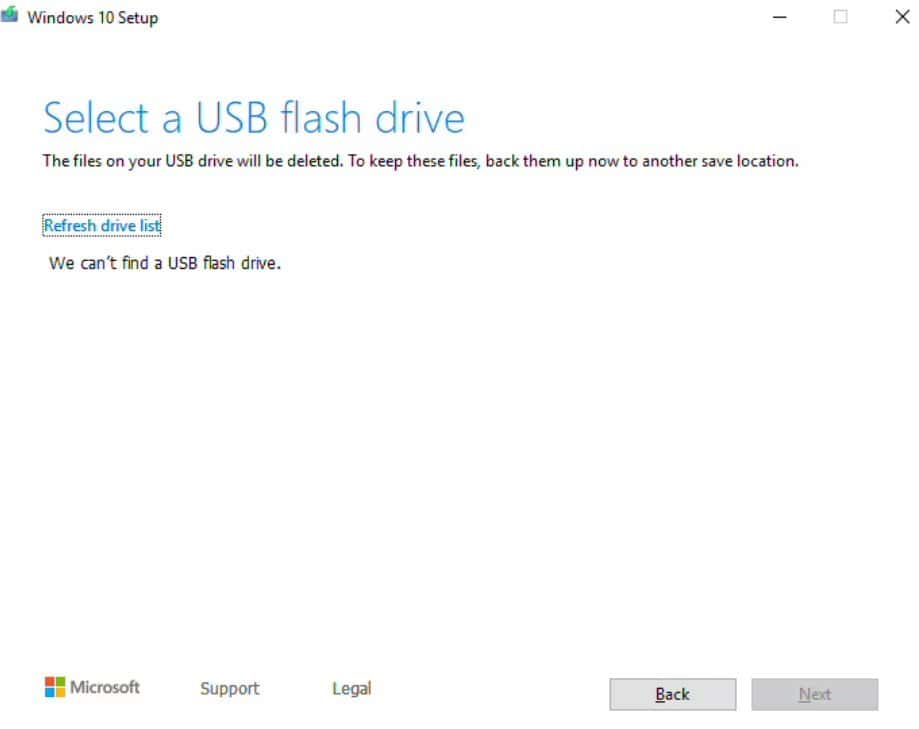
8. After completing the process, take the Media (USB or DVD) and insert it in the computer onto which you’ll load Windows 10/11.
* Note: the computer should be Shut Down and the USB or DVD should be inserted in the computer.
9. Turn on the computer.
10. Immediately after the computer starts booting, press F1 or F2, depending on your manufacturer’s guidelines, to access the BIOS menu.
11. Navigate with the arrow keys to access the Boot Order Menu.
12. Using F4 and F5 put the desired drive (USB or DVD) as first in the boot order.
13. Exit and Save Changes (your computer will restart).
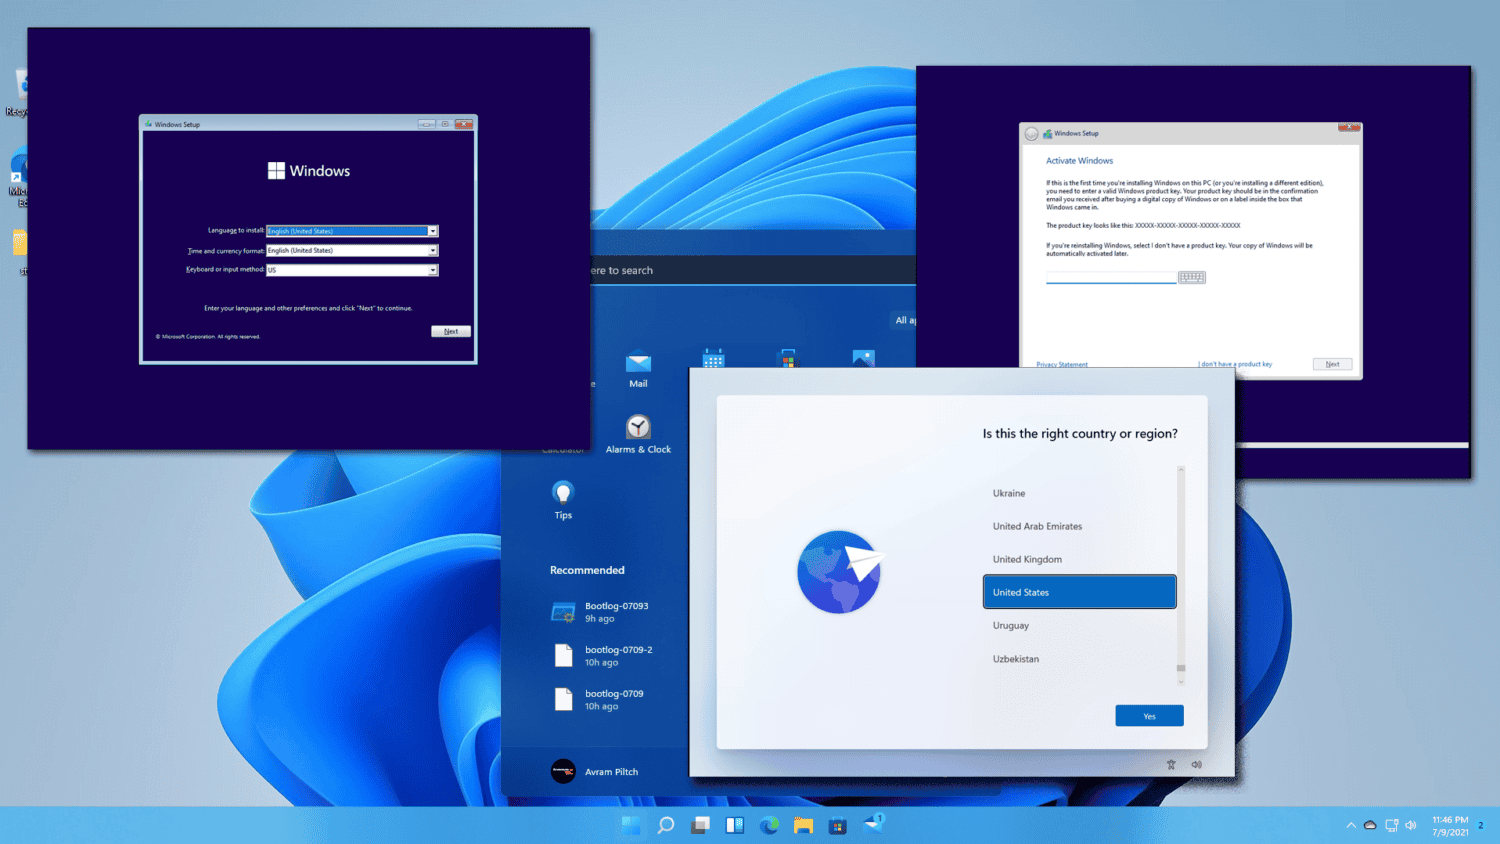
14. The installation procedure will start after the restart of the system. Follow the steps and install Windows.
* Note: Once installation is complete, access the BIOS again and move your HDD or SDD up to the first position in the Boot order menu. Exit and Save the changes and you will boot into your newly installed Windows.
Important
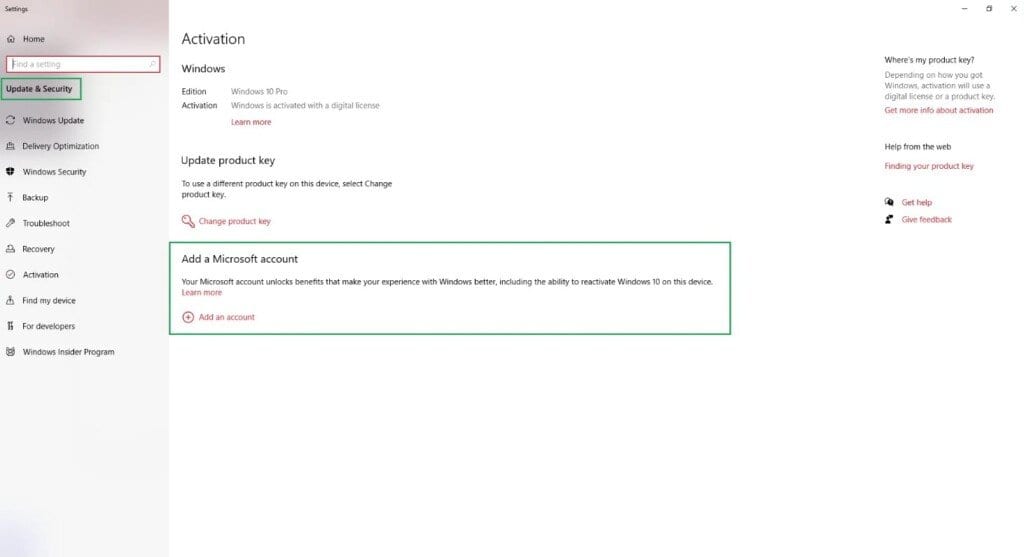
For transferable licences, you need to add a Microsoft account in the Activation Settings on your device (if you do not have an MS account, please create one). Via your Microsoft account, you will be able to transfer the licence to another device when needed.




Leave a Reply