


How to Design a Business Card in CorelDRAW
In the digital age, business cards remain a vital tool for networking. While social media and digital contacts are on the rise, a well-designed business card can leave a lasting impression. Adding a QR code to your card bridges the gap between the physical and digital worlds, providing an easy way for clients and colleagues to connect with you.
This step-by-step tutorial will guide you through designing a professional business card in CorelDRAW 2024, from setup to final touches, ensuring your card stands out and serves its purpose effectively. For the full range of editions, see all CorelDRAW software options available.
Step 1: Setting Up Your Document
- Open CorelDRAW 2024 and create a new document:
- Go to File > New or press
Ctrl + N. - In the New Document window:
- Name your project.
- Select CMYK for printing or RGB for digital use.
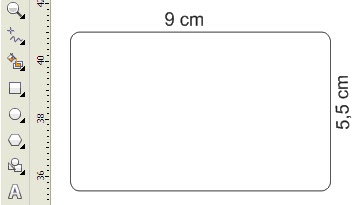
- Choose Business Card as the page size, or customize dimensions if needed.
- Set the resolution to 300 dpi for print clarity.
- If you’re designing a double-sided card, set the Number of Pages to 2.
- Go to File > New or press
- Review the Property Bar to adjust page size, orientation, or units of measure.
TIP: Consult with your printing service for preferred color profiles or additional requirements.
Step 2: Adding Guidelines
Guidelines help structure your design:
- Navigate to Layout > Document Options.
- Under Guidelines, select Presets and choose Page Borders.
- Enable Snap to Guidelines in the dropdown on the property bar.
For manual adjustments:
- Drag guidelines from the rulers at the top and side.
- Reset the ruler origin to the top-left corner by dragging from the ruler intersection.
Step 3: Adding Text
Start by entering your contact and company information:
- Use the Text Tool (F8) to type details such as:
- Name
- Title
- Company name
- Address
- Phone number
- Website
- Customize fonts:
- Access the Font List for options by family, style, and weight.
- Use the Font Manager to organize and preview fonts.
- Adjust character spacing and paragraph formatting in the Text Docker (
Window > Dockers > Text).
TIP: Use a clean, legible font for readability.
Step 4: Adding a Background
Create an eye-catching background:
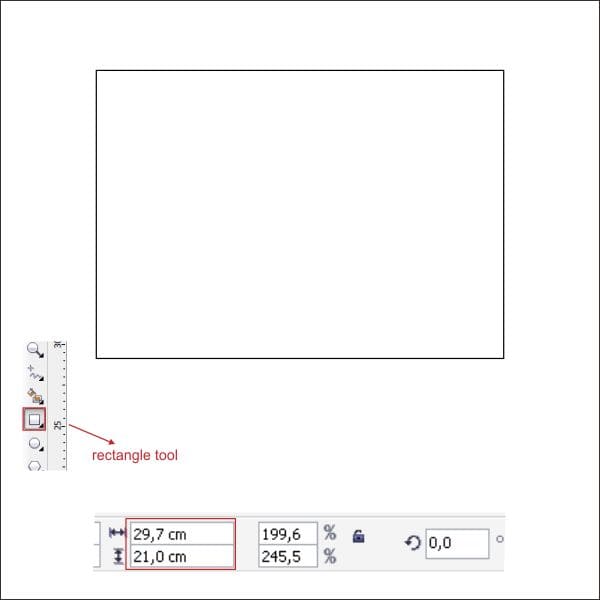
- Select the Rectangle Tool (F6) and draw a rectangle covering the business card.
- Adjust its size in the Property Bar or center it by pressing
P. - Fill the rectangle with a color using the Color Palette or the Eyedropper Tool.
- Remove the border by right-clicking the No Color swatch in the palette.
Step 5: Adding a Logo
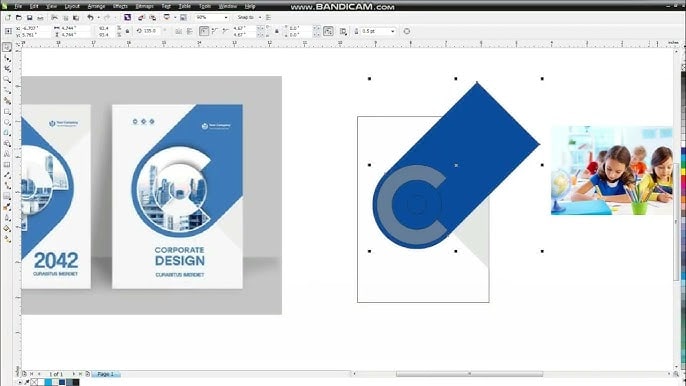
- Import your logo by going to File > Import.
- Position and resize the logo using the Pick Tool.
- Use high-quality images:
- Recommended: 300 dpi resolution.
- Supported formats: CDR, TIFF, or PNG 24-bit.
TIP: Avoid resampling low-resolution images, as they may appear pixelated when printed.
Step 6: Adding a QR Code
Include a QR code for digital interaction:
- Go to Object > Insert > QR Code.
- Use the Pick Tool to position and resize the QR code.
- Open the Properties Docker (
Window > Dockers > Properties) to:- Set the QR code type (e.g., URL, contact info, or calendar event).
- Enter the desired data.
- Validate the QR code to ensure functionality.
TIP: QR codes can direct users to your website, LinkedIn profile, or even a virtual business card.
Final Touches
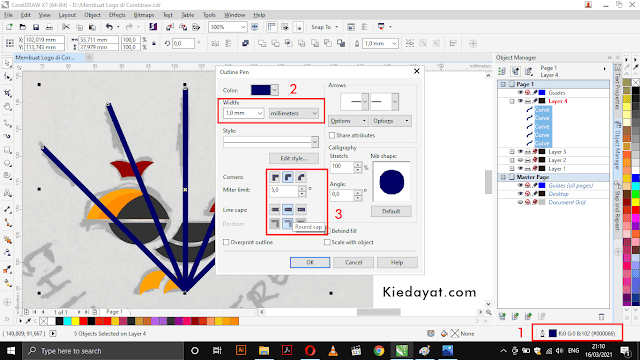
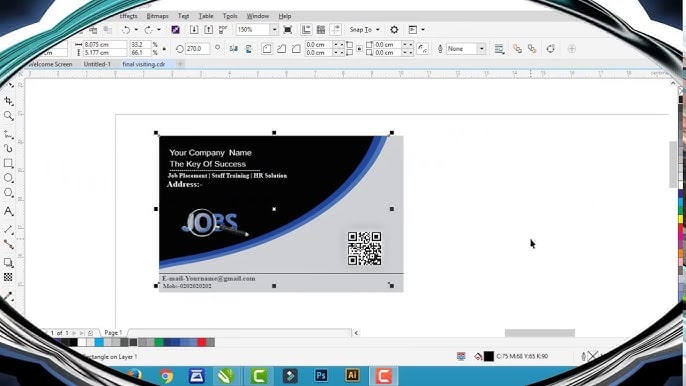
- Review your design for alignment and consistency.
- Use the Preview Mode (
View > Wireframe) to check layout accuracy. - Save your project in CDR format for editing and export it as a PDF for printing.
With its intuitive tools and professional features, creating a business card in CorelDRAW 2024 is straightforward. Whether you’re designing for personal use or a client, incorporating elements like logos, QR codes, and clear typography ensures your card is modern and effective.
Start designing your unique business card today and make your first impression a lasting one! The same steps work in older releases, including CorelDRAW X8, where these tools sit in the same menus.
Products in this article

Digital delivery by email · Secure payment by card, Apple Pay and Google Pay






Leave a Reply