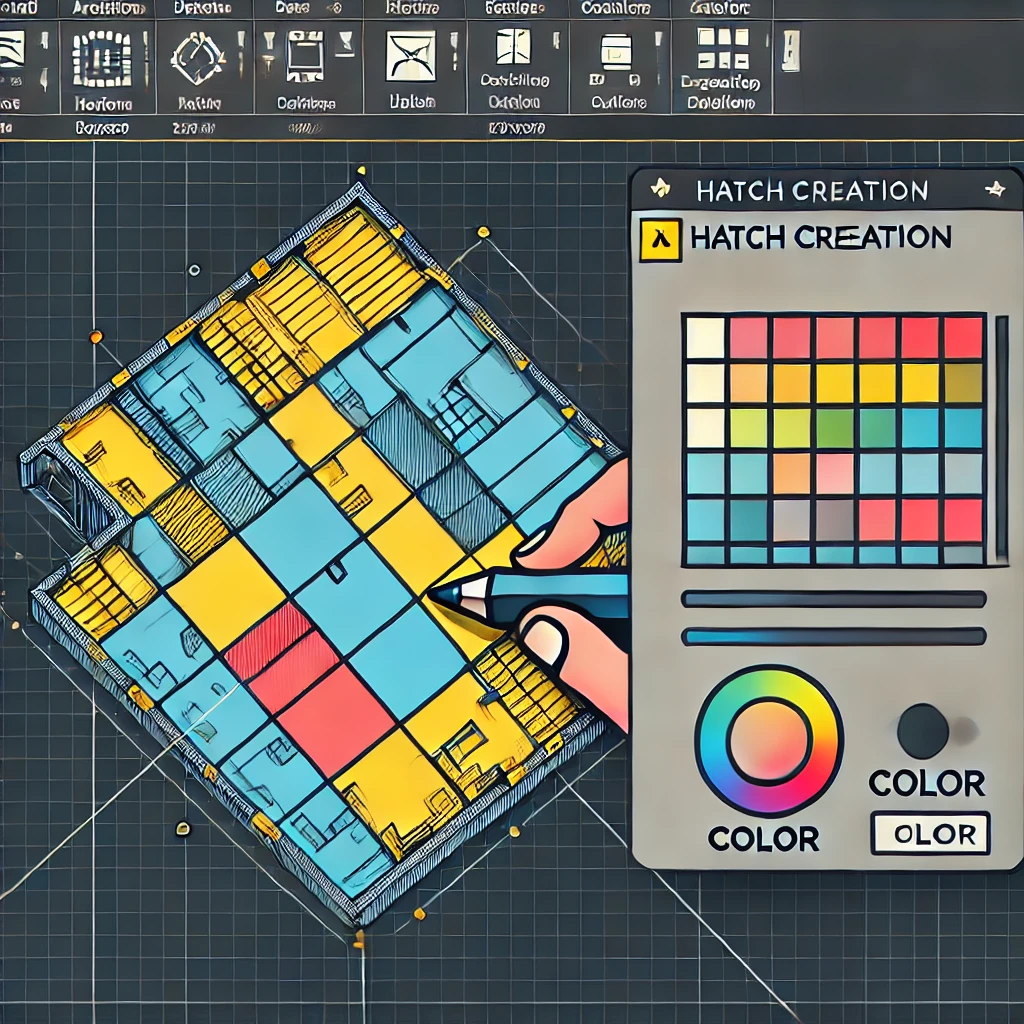
How to Fill Colors in AutoCAD: A Simple Guide (AutoCAD 怎么填充颜色)
AutoCAD is an incredible design tool that’s used by architects, engineers, and designers all over the world. One of the key skills you need to master is how to fill colors in your drawings. Adding color can make your designs pop, making them more transparent and easier to understand. In this blog post, I’ll walk you through the steps to fill out the colors in AutoCAD. (AutoCAD 怎么填充颜色)
Why fill colors in AutoCAD?
Adding colors to your AutoCAD drawings isn’t just about making them look nice. Here are some reasons why it’s a good idea:
- Differentiation: Colors help you easily distinguish between different parts of your design.
- Clarity: They make your drawings easier to read and understand.
- Presentation: Colored drawings look more professional and appealing.
- Communication: Using colors can convey information more effectively to clients and colleagues.
Step-by-Step Guide to Filling Colors in AutoCAD (AutoCAD 怎么填充颜色)
Step 1: Open Your Drawing
Start by opening the drawing you want to color in AutoCAD. Make sure to save your work regularly to avoid losing any changes.
Step 2: Select the Hatch Tool
The Hatch tool is what you’ll use to fill areas with color. Here’s how to find it:
- Go to the Home tab on the ribbon.
- Click on the Hatch icon in the Draw panel, or type “HATCH” into the command line and press Enter.
Step 3: Choose Your Fill
AutoCAD gives you various options for filling areas. For solid colors:
- In the Hatch Creation tab that appears, click on the “Pattern” panel.
- From the drop-down menu, select “Solid” to fill the area with a single color.
Step 4: Define the Area to Fill
You need to tell AutoCAD where you want the color to go. You can do this in two ways:
- Pick Points: Click inside the boundaries of the area you want to fill. AutoCAD will automatically find the boundary and fill it in.
- Select Objects: Click “Select” and then choose the objects or areas you want to fill.
Step 5: Choose Your Color
Now it’s time to pick your color:
- In the Hatch Creation tab, go to the “Properties” panel.
- Click on the color box to open the color palette.
- Choose a color from the palette, or define a custom color if you need something specific.
Step 6: Apply and Adjust
After picking your color, click “OK” to apply it. You can adjust the hatch pattern’s scale, angle, and other properties if needed. When you’re happy with how it looks, press Enter to finalize.
Step 7: Save Your Work
Don’t forget to save your drawing after making changes. This way, you won’t lose any of your hard work.
Tips for Effective Color Filling in AutoCAD
- Use Layers: Organize different parts of your design on separate layers and assign colors to each layer for better management.
- Check Boundaries: Ensure the area you want to fill is completely closed to avoid errors.
- Be Consistent: Use colors throughout your drawing to avoid confusion and make it easier to read.
Conclusion
Filling colors in AutoCAD is a straightforward yet powerful way to enhance your designs. Following these steps, you can use color to make your drawings more transparent and more attractive. Whether you’re new to AutoCAD or an experienced user, mastering this skill will add significant value to your projects. (AutoCAD 怎么填充颜色)
Take some time to practice and experiment with different colors to see what works best for your designs. Happy drawing!


Leave a Reply